
I'll get to virtual copies in a moment, but to go along with them here's a change I recommend you make in the naming of images you edit in your External Editor. By default, Lightroom names these with "-Edit" added to the name. You can change this on the External Editing tab of Preferences:
Click on the pull-down at the bottom and choose "Edit...":
Since my image names end in number I just add the letter "a" to indicate a variation (keeps the name short). After that I add the "Copy Name" (we'll see why below). To add the Copy Name click on the pull-down shown and choose it:
My custom name now looks like this. Just click on Done to save it.

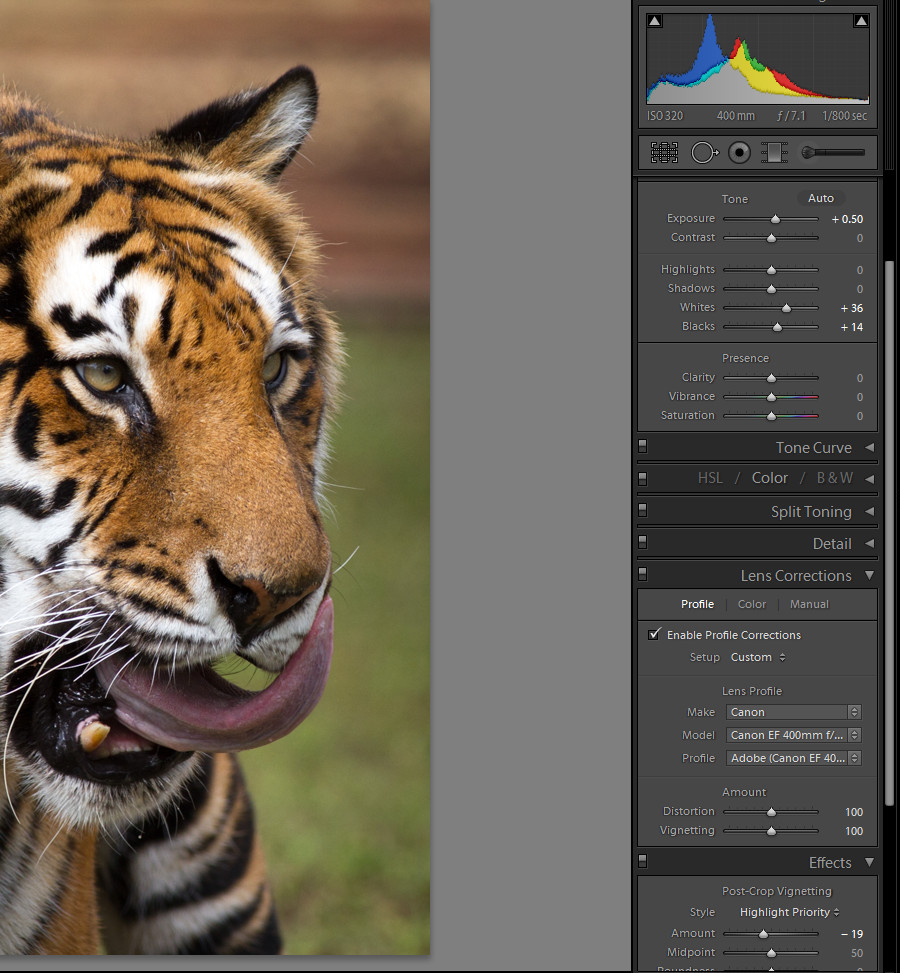
Now that we've setup the naming of images edited in an External Editor, let's start by editing an image in Lightroom. Using the develop module with might turn on lens correction and adjust the exposure, and apply a 2x3 crop (for making a 4x6 print):
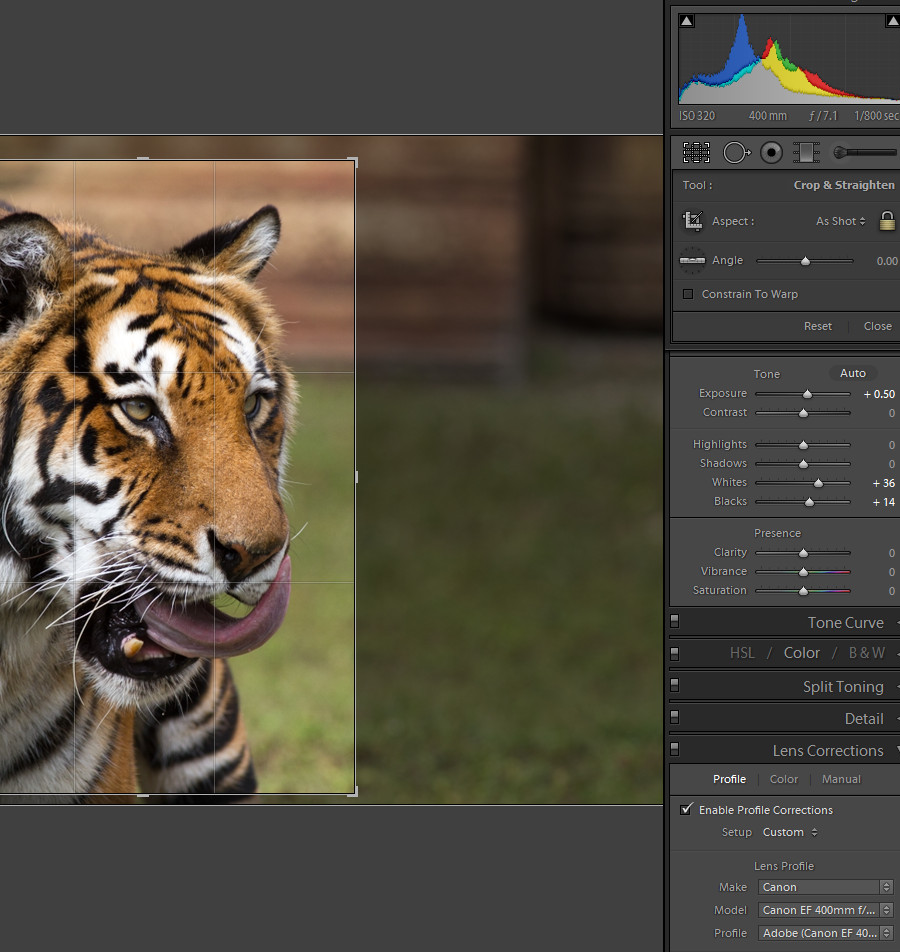
Even though I picked 2x3 in the pull-down where is says "As Shot" it jumped back to as shot, because the original images was very close to 2x3. Notice the lock next to "As Shot" is closed which forces the crop to be either 2x3 or 3x2. If you don't want to force the crop to a certain size click on this lock which will "open" it.
Once I've cropped I might also want to apply a little "Post Crop Vignetting":
But now what if we also want to make a 5x7 version? Back in Library Module, with the image (RAW file) selected, choose Photo / Create Virtual Copy:
Other alternatives: use the Cntl+' shortcut, or right click on the image and choose Create Virtual Copy from that pop-up menu:
What's neat about is that you've only created a virtual copy of the XMP file with the commands necessary to develop the RAW file.
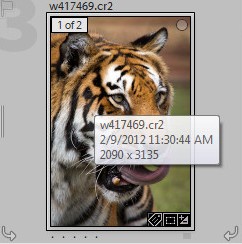
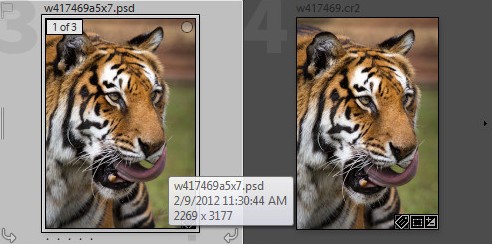
What's a little weird is that when viewed in the Library the both have the same name (that of the RAW file) above the image, but as you hover over them with your pointing device. The first will say "1 of 2" and the second "2 of 2" and in the info box that popped up you see the second also says "w417469 - Copy 1":
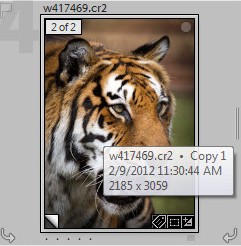
When you look at near the top of the Metadata panel (Library Module/Right Side) you see that Lightroom has added "Copy 1" next to where it says "Copy Name":
You can change the name just by clicking on it and entering a new name. Since I'm going to change the crop of this virtual version to 5x7 that's what I'll use as the name:
I also like to go back and enter something in the Copy Name of the original version of the image. In this case I would probably enter 4x6 as its name.
Next, with the 5x7 copy selected I'd go to the Develop module. Click on the crop tool (long red arrow below) and then choose 5x7 from the pull-down (short red arrow below):
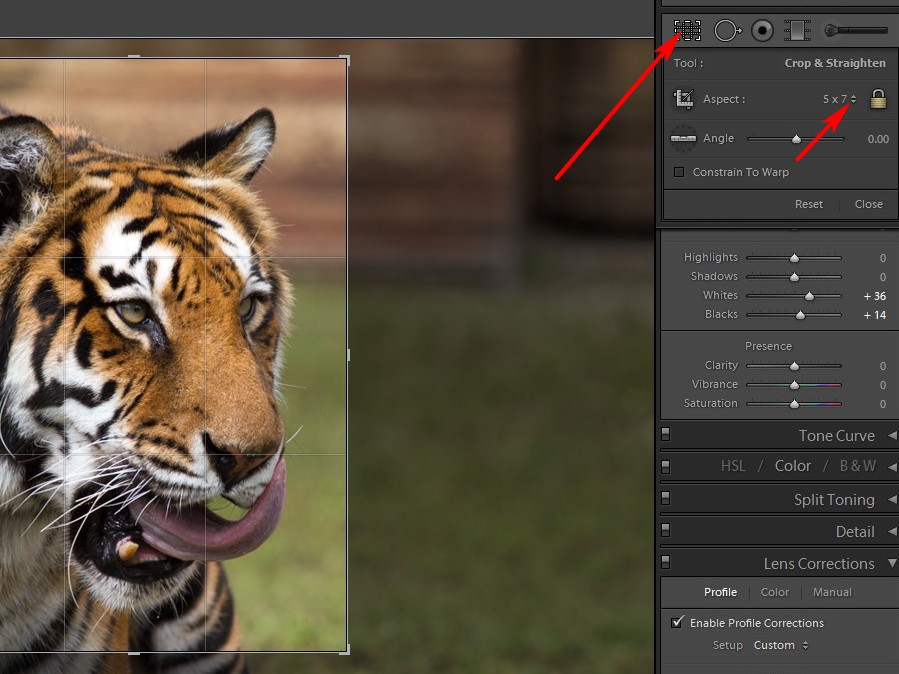
Re-crop appropriately for 5x7 and press Enter or click on the crop tool again to commit the crop.
I know that Lightroom gives you the option to "add a watermark" (which can be text, your signature, etc.) when printing or exporting a file, but I like the additional control the Photoshop (Elements or CS) gives you when you use a signature brush on another layer. So at this point I'll select the 5x7 venison and open in Photoshop using Ctrl+E. First I'll add a new layer:

Then I'll select my signature brush (I have one with a copyright for each year) and using the bracket keys resize appropriately. I'll pick a color for the signature, maybe using the eyedropper to pick a color from the image. Click once to add the signature. Maybe use Cntl+T (Transform) to rotate the signature to better fit where I've placed it:

Finally I'll adjust the opacity of the layer with the signature, so it's subtle and doesn't jump out:

I use the shortcut keys Cntl+S and Cntl+W to Save and Close the image out of Photoshop. Returning to Lightroom you can see, because of the options we choose for naming images edited in an external editor, the PSD version was automatically named w417469a5x7.psd:
I would do the same thing to add a signature to the 4x6 version, which would automatically be named w417469a4x6.psd ... many print from Lightroom but personally I print everything from Qimage using the PSD files I just created.
Qimage is happy printing from the PSD files that use the default color space of Lightroom (ProPhoto RGB). However, if you want a JPG to post or send someone you must "Export" it from either one of the PSD files or one of the virtual versions of the RAW files which will be developed by Lightroom using the instructions in corresponding XMP files. Export will convert the color space to sRGB which will look right when viewed on a monitor.
As we do this for the first time we need to setup the naming conventions for the exported JPG file, just like we did for the files created for external editing. These naming conventions will then be remembered until we need to change them, we don't need to do it all the time.
Choose File / Export ..., or use the shortcut Cntl+Shift+E, or right click on the image and choose Export... to see the Export dialog box:
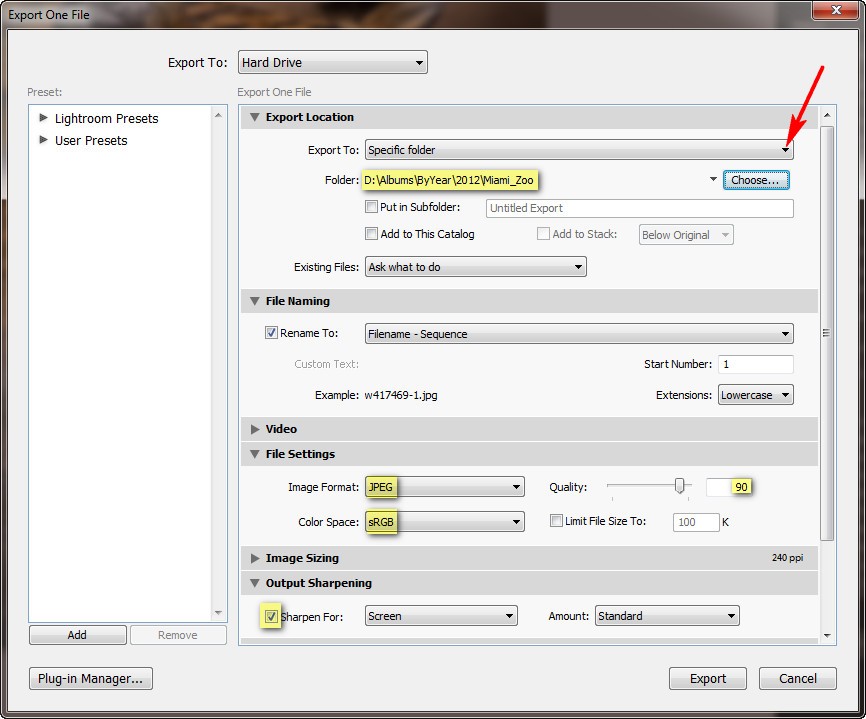
Specify where you want to put the file. The default is "Same folder as original file" but here we've changed this to "Specific Folder" using the pull-down. By clicking on the Browse button we have specified a folder named Miami_Zoo on another drive.
Before we changing from the default output name, notice that we have chosen a JPG file type, with a quality of 90 which has high quality (low compression), and specified conversion to the sRGB color space. We've also asked for standard final sharpening appropriate for viewing on a screen.
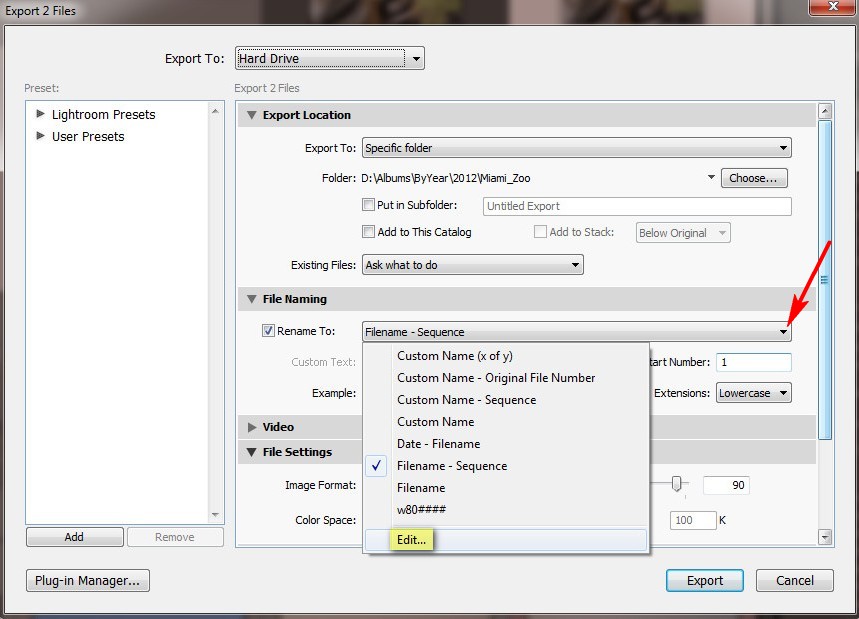
Change the output name using by the pull-down and choosing Edit:
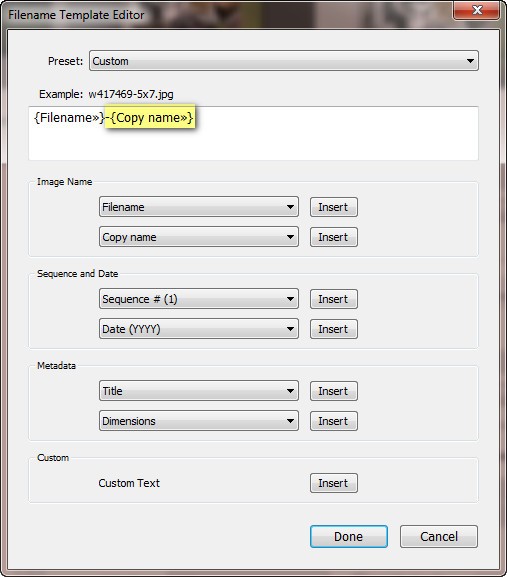
As before, I removed the sequence number and after the hyphen inserted the code for "Copy Name":
To create that version (high quality, full resolution) of the image just click on the Export button at the bottom of the export dialog box.
If I also wanted a lower resolution version with higher compression appropriate for e-mail at some time, these are the changes I would make in the export dialog box:
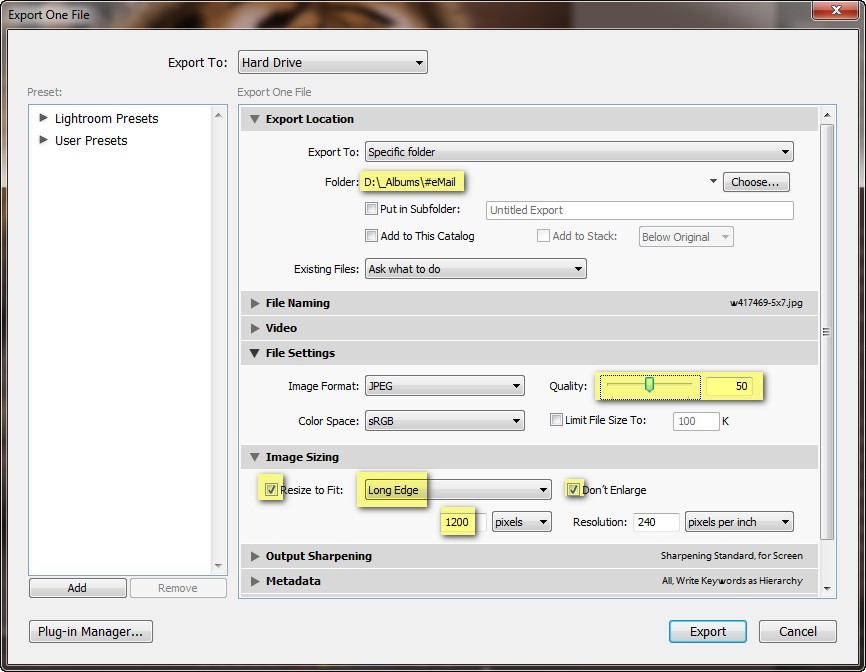
I changed the output folder to the one where I keep low-res versions of recent images. I changed the quality to 50 and specified that the size of the longest side would be 1200 pixels. (Screens have a dpi of just under 100, but since we've specified the size in pixels the dpi doesn't matter, I just left it at the default of 240.)
Some notes on JPG quality as specified by Lightroom: I recommend 90 for print quality, and 50 e-mail quality. A quality of 90 in Lightroom is about the same as 95 in FastStone, and a quality of 50 in Lightroom is about the same as 80 in FastStone. The file size of the 857x1200 pixel file is 775K (quality 90), 275K (quality 50), or 200K (quality 33, which is about like quality 70 in FastStone).
I was really excited about virtual copies. I assumed that each version had it's own XMP file and with the automatic saving of metadata changes to XMP all the versions would be saved along in the folder alongside the original RAW file.
WRONG, the virtual copies are only saved in the Lightroom catalog and are never captured by the backups I make of various folder trees to other machines. I'm now much less excited about virtual copies.
Suggested next choices:
ImagingTips.com Site Map
[an error occurred while processing this directive]