|
Many old photos were sepia toned, both to give a warmer tone and to improve the archival qualities of the image. Here's an example found on Wikapedia from 1895:
To apply this same look to a Black & White digital photo here are two techniques I recommend:
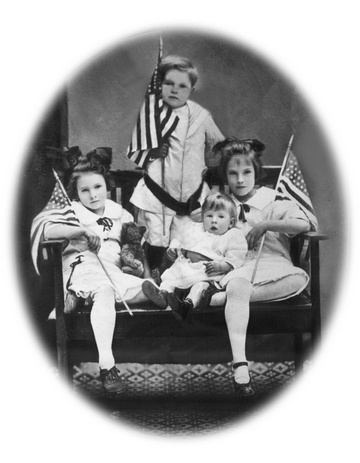
Sepia Tone Layer EffectIn Photoshop we often use Layer Effects on Text Layers or to help create interesting frames around images, but we forget that there are predefined Layer Effect Styles and that we can create our own Layer Effect Styles. We'll start with this image:
If this is the background layer, rename it, and then with the layer selected click on the fx button at the bottom layers palette (panel):
Choose "Blending Options" and click on Styles:
This shows you the pre-defined Styles what come with Photoshop and any you may have added:
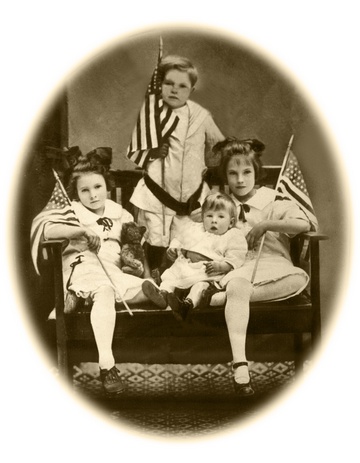
If you hover over them it shows you the name of the style. Choose "Sepia Tone (Image)". How easy is that? Your image now looks like:
What's really happened is that the "style" adds a Color Overlay, choosing the color and setting the blend mode to Color. You can fine-tune the tone by clicking on the fx button added to the layer:
By default the opacity is set to 100%, you might want to dial it back a bit. I think I chose 75%.
Sepia Photo FilterThe second technique is to apply a sepia photo filter. Details to come. |
Sponsored Links:
Sponsored Links: |
Suggested next choices:
Photoshop Bridge FastStone Qimage OtherTips Resources
[an error occurred while processing this directive]