
In my opinion Qimage is the best printing program there is. In fact, it is the ONLY program I use for printing images. Although I edit my images using Photoshop, I never print from Photoshop, only Qimage.
In Photoshop I never worry about DPI, or anything related to printing. I edit my images keeping the original resolution, and always save the edited, but un-cropped version. Sometimes I'll also save a cropped version from Photoshop, but many do all their cropping in Qimage. In fact some people JUST use Qimage to enhance and print the majority of their images. (But I still like doing my enhancements in Photoshop.)
Qimage produces professional quality images (that exceed the quality of almost any other program) by resampling and sharpening the image based on the specs of your printer and the size of the particular print.
Qimage prints multiple images on a page: laying them out automatically, using templates, or by letting you manually place the images.
If you haven't tried it, download and install a trial version of Qimage from the DDI Software website.
Like any good, powerful program Qimage has LOTS of features and it takes some time to learn to access them all, but here I'll show you how easy it is to print images. (Of course I never do anything the easy way. First I'll show you more than you want to know about auto-hiding the folder structure. Then I'll complicate this tip more by also showing you the automatic copyright/signature feature which I always have turned on.)
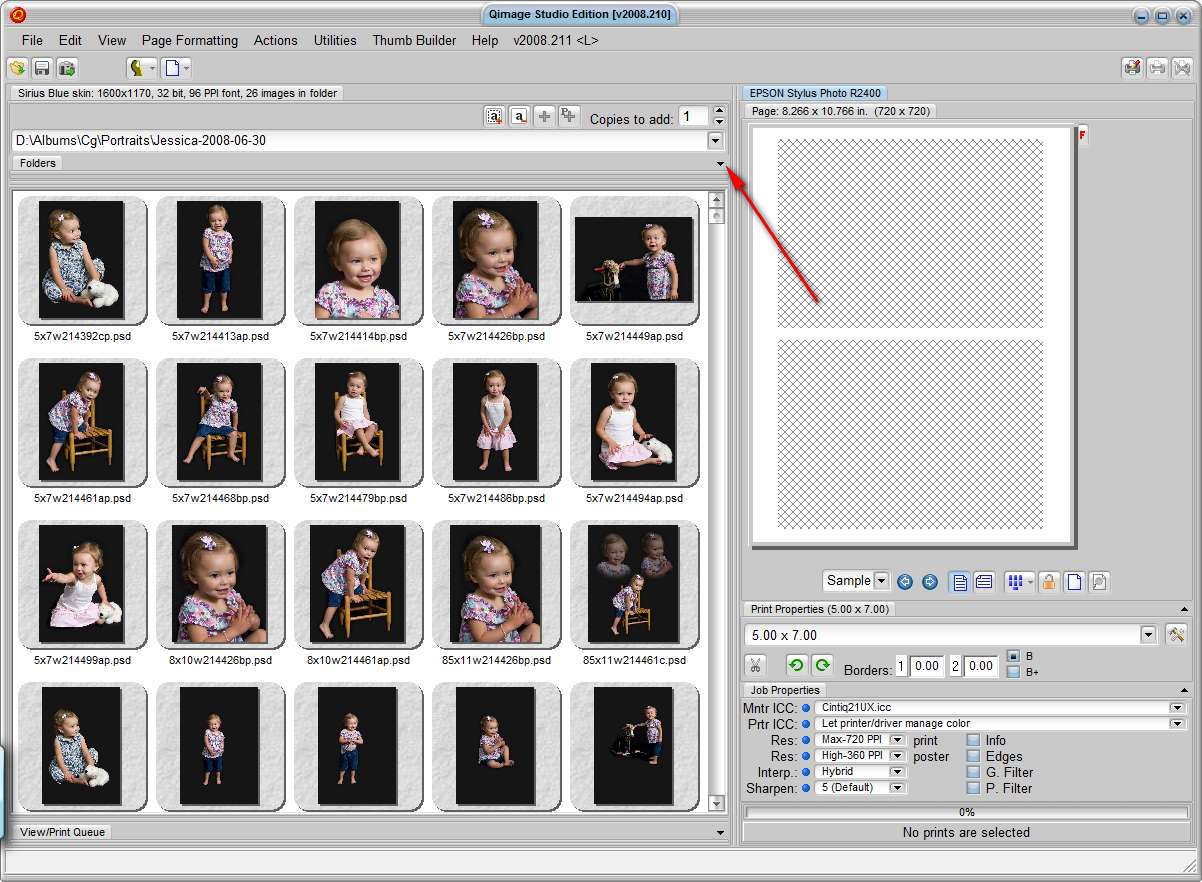
The first step navigate to a folder with images you want to print. If your folder structure isn't shown, just put your cursor over the word "Folders" (arrow below) and the pane will pop open:
If the pane is small (as above), and you can't really see your folder structure, place your cursor on the line (arrow below) that divides the pane from the one below and drag the line down, making the folder pane bigger:
Foolishly I use to leave this pane exposed, so the bigger it was the less room I had to see thumbnails. Now I recommend making this pane quite big, but be sure it "auto-hides". My Qimage screen might look something like this:
If the Folders pane doesn't auto-hide, the little triangle (arrow above) will be pointing up. Click on it and the pane will auto-hide. When I click on the word "Folders" the pane opens up and my screen looks like this: (When auto-hide is on, there is no little triangle (green arrow below) in the top right folder pane when it is open.)
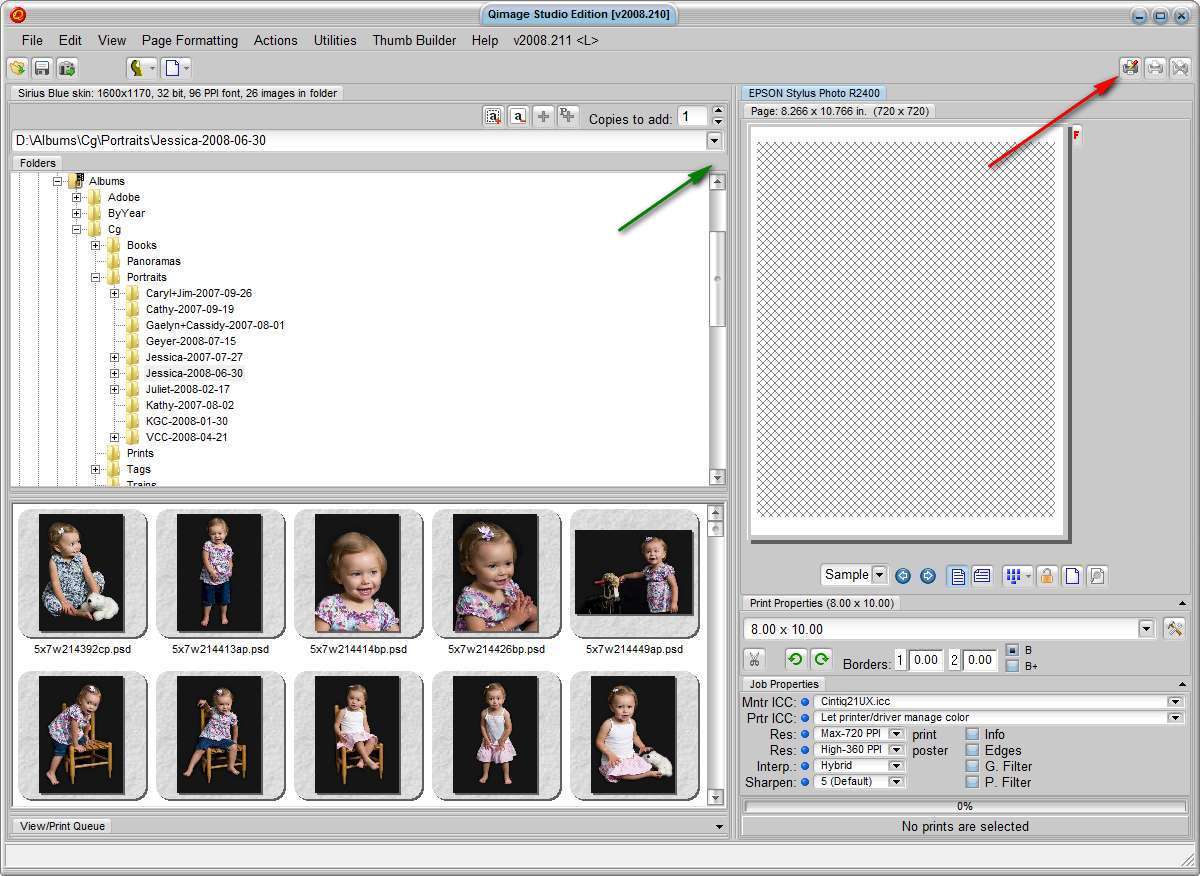
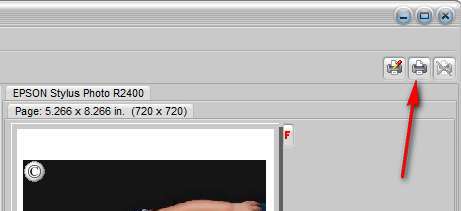
The next step is to choose the size paper you are going to print on. (Not the size of the print, but the size of your sheet of paper.) Click on the printer setup icon (red arrow above) ... it looks like a printer with a tiny red flag. (In the screen shot two images above I had been printing 5x7 images on 8.5x11 paper ... you see that there was room for two images on a sheet and I had chosen to have them centered. In the screen shot just above I was printing 8x10 images on 8.5x11 paper, and there was only room for one image.) When you click on the printer setup icon the standard "Print Setup" menu for your particular printer appears:
If I'm going to print 5x7's images I like to print them on paper I've pre-cut. Instead of cutting to 5x7, I just cut the 8.5x11 sheet in half. This leaves some edge for people to hold to so they don't get fingerprints on the image itself before they frame it. As you see above, I've defined a half-letter size as one of the user-defined sizes for my printer. (I know the Epson drivers allows you to define your own paper sizes; hopefully your printer driver does too.) Once you've chosen a paper size, Qimage shows the exact size (green arrow below) based on the specs of your printer and any un-printable area. Even when printing borderless, the size is never exactly what you might expect. The next step is to pick an image size using the pull-down (red arrow below):
One other thing to note is the edge layout sheet where your images are placed. If you don't see the gray band (blue arrow above) around the sheet, it's the visual clue that you have chosen to make borderless prints. There are many ways to add an images to your page layout. The two I use are to double-click on an image, or to drag and drop. Here you see I've added an image to my page. And even though the page was setup as a portrait page, Qimage rotated them landscape image to fit the space:
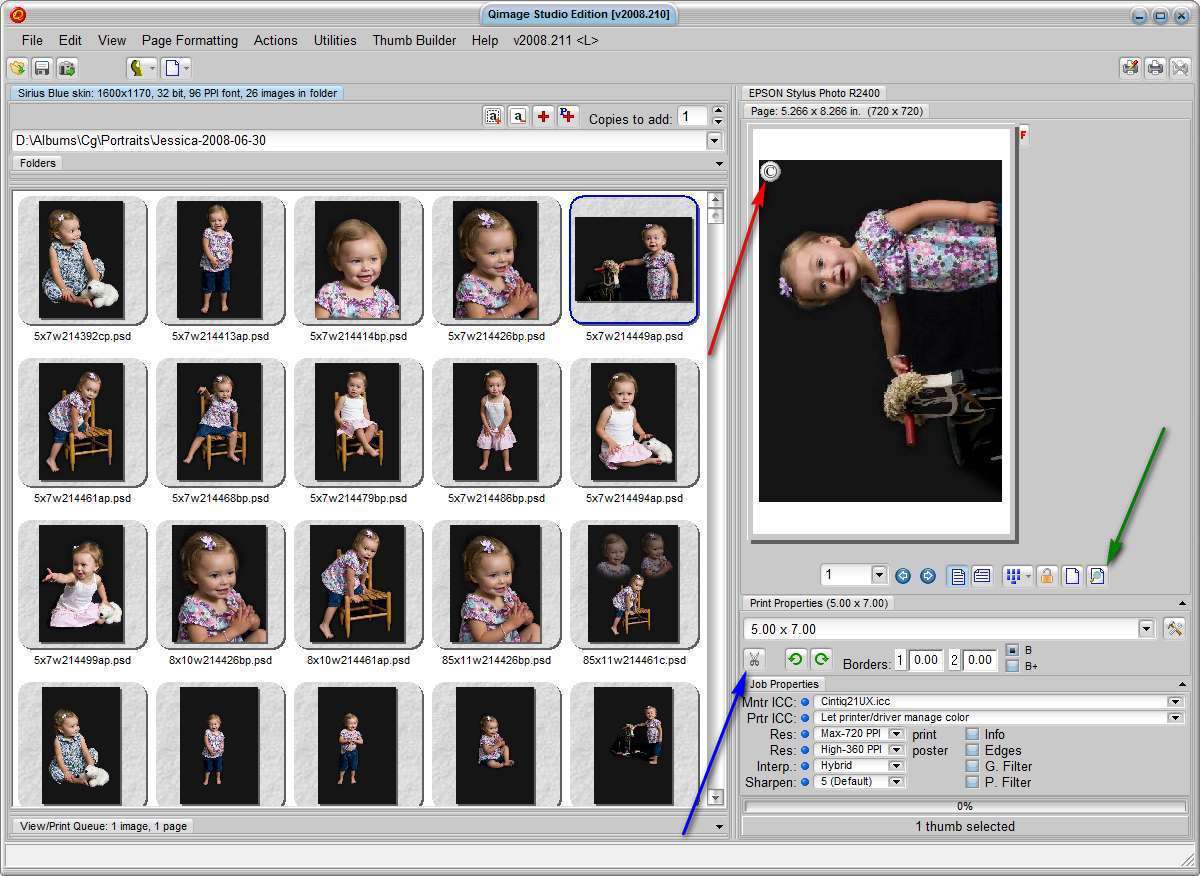
Normally I leave auto-cropping (scissors icon, blue arrow above) turned on so my images will automatically be cropped to fit the print size. If you then want to adjust the cropping use the full-page editor (green arrow above). I can keep adding more images, but since only one 5x7 image fits on this size paper, each will be printed on it's own sheet. One neat feature I always use is to automatically add a signature (or copyright) to the print. The little © in the corner of the image (red arrow above) shows the signature will be added. You can turn this feature on and off under Edit / Preferences:
The feature is only available in the studio version, but it's one of the reasons I recommend that version. When I setup my signature (see Copyrights and Signatures) I asked Qimage to always place it on the bottom right. Looking at this preview, I think it this case I want it on the bottom left, so I just double-click on the © and get this menu:
where I can choose to put it in any corner, or centered along an edge. Note that it reminds you (green highlight) that if you really want to use see what it's going to look like you need to use the high-quality preview mode of the full-page editor. To open the full-page editor, click on the icon indicated by the green arrow (three screen shots above). The full-page editor looks like:

Depending on your screen resolution, you'll either see the signature (red arrow above), or will need to click the HQ Preview button (green arrow) to see it. You'll also note that the full-screen editor provides two tabs (blue arrow) which give you control over the cropping, positioning, and adding borders (frames). Double clicking on the image itself gets you to the image editor where you can enhance the image before printing.
It's as easy as that! Once you're ready to print, click on the print icon (red arrow below):
If you haven't used Qimage before, I recommend you reading at least two sections from the Qimage help file: "Getting Familiar" and "Learning the Tools".
I've ignored color calibration and/or profiles which are important. At some point we'll add that discussion. For now just be careful you don't "double profile". Either turn off Printer Image Color Correction in Qimage (red arrow below) or turn off Image Color Management in your printer driver and turn it on in Qimage.
There's only one trial version of Qimage (it provides the functionality of the Pro version). When you buy Qimage there are three choices (see the comparison table on the Qimage website). The choice is not that important, it's easy to upgrade later and it costs no more than buying the more expensive version to begin with. Personally I like the Studio version because of these features: the ability to print directly from RAW files, the automatic copyright/signature feature (shown above), and the ability to remember more pre-defined custom image sizes (you define as many as you want in other versions, but they will only remember 10).
Suggested next choices:
ImagingTips.com Site Map
[an error occurred while processing this directive]