ImagingTips.com

Qimage: Test Strips

by Wren McMains
(9/11/2008)

Anyone who has worked in a darkroom knows the value of test strips. Before you waste a big sheet of paper, you print a critical area on a small sheet to make sure you're going to be happy with the result. It's often overlooked, but Qimage has a "Test Strip" feature which allows you to do exactly the same thing.

There are several ways to print a test strip (see Qimage help), here are the two I use:

Sponsored Advertisements:
  1. Start as you normally would. Here I've told my printer driver I want to make a 13x19 borderless print:
     
    Qimage Test Strip
     
    You'll note that the driver reports the exact page size back to Qimage (it's not exactly 13x19, instead its 12.952 x 19.014). After choosing the borderless page size in printer setup, choose "Fit to page" as the print size. And for borderless, always be sure auto-cropping (arrow above) is on. Then add your image to the queue:
     
    Qimage Test Strip
     
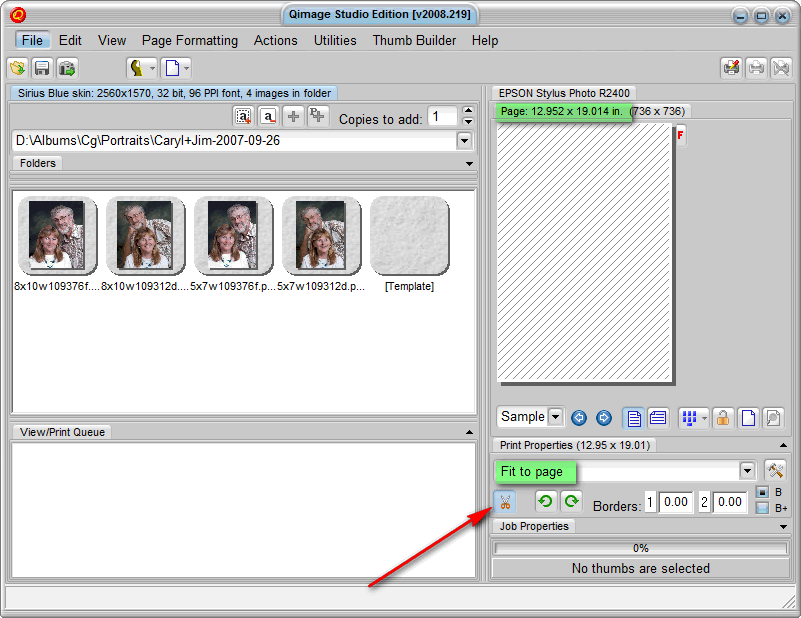
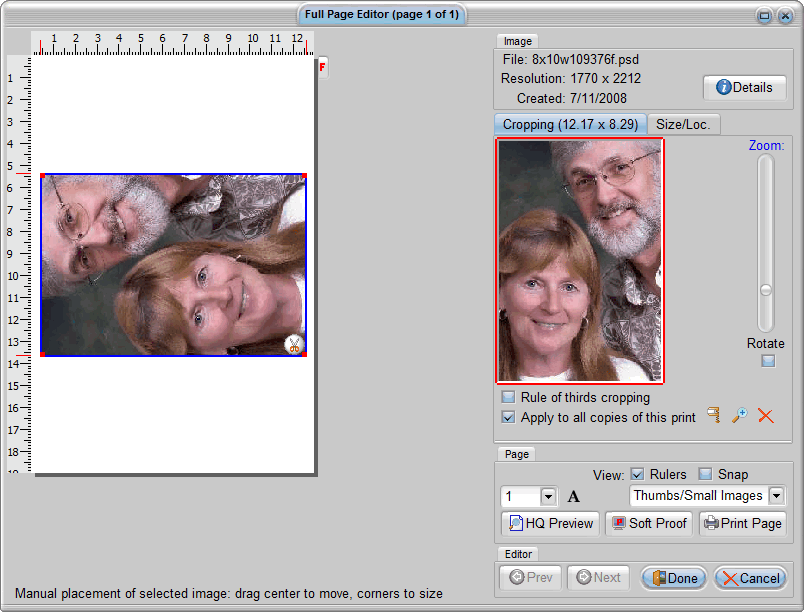
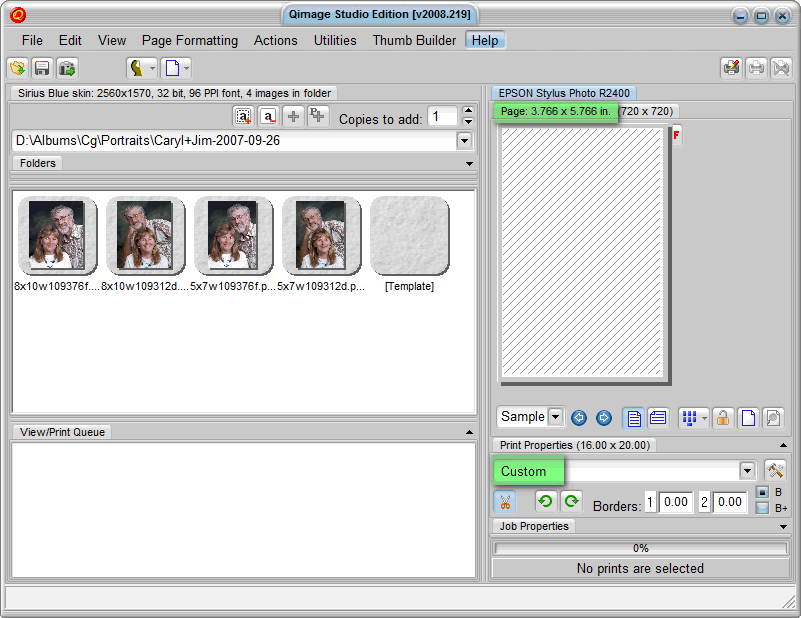
    Whenever you add images to the queue, Qimage reports the pixels per inch (PPI) for the image:
     
    Qimage Test Strip
     
    Although many say you need 200 or more pixels per inch for a good quality print, you'll find that with 125 or more PPI Qimage you will ALWAYS give you high quality print. My experience is that even prints made at around 90 PPI look good viewed at a normal distance ... no normal person would view a 13x19 image from 8 inches away anyway. :)
     
    Reviewing quality, detail, sharpness, and color are all reasons to print a test strip. I've also found that when touching up portraits there are things I don't see until I make a print. A test strip is an inexpensive way to review a critical area of a print before wasting lots of ink and paper.

       
    Next open the full page editor (arrow above) and you should see:
     
    Qimage Test Strip
     
    If you don't, be sure you are looking at the cropping tab (blue arrow above). The "Test Strip" icon looks like little calipers (red arrow above). When you click on Test Strip the crop gets tighter and the print size gets smaller:
     
    Qimage Test Strip
     
    Each time you click on Test Strip the print size continues to get smaller:
     
    Qimage Test Strip
     
    Keep clicking on Test Strip until the print size (arrow below) is less than 4x6:
     
    Qimage Test Strip
     
    Next grab (click on and hold) the image on the right and drag it around until the area you want to see on your test print appears:
     
    Qimage Test Strip
     
    I found I also had to grab the image on the left and drag it to the top left corner (unless I did, nothing printed on my 4x6 sheet ... the 4x6 sheet was just the upper left corner of the 13x19 area so I needed to put my test area in that corner):
     
    Qimage Test Strip
     
  2. The second technique is even easier, but works better when you're printing a standard size print, not a borderless print. Specify 4x6 as your paper size (with my printer the actual page size is 3.766 x 5.766 after subtracting the minimum borders):
     
    Qimage Test Strip
     
    Let's pretend I have an R3800 printer and want a 16x20 print. If I don't have that as one of the pre-defined choices in the pull-down list, I choose "Custom" and get this menu where I can choose "Enter specific SIZE" and specify the size:
     
    Qimage Test Strip
     
    Now when I add the image to the queue a 5x4 (arrow below) appears in the top left corner of the image. This is because a 16x20 print is not going to fit on a 3.766 x 5.766 page and Qimage will automatically tile the image and print it on multiple sheets.
     
    Qimage Test Strip
     
    Not what I want, but not a problem. Open the full page editor and click once on the Test Strip button. It will crop your image to the size of your test page:
     
    Qimage Test Strip
     
    Drag the image on the right around so the area you want printed displays; then click the Print Page button. It's that easy!

Suggested next choices:

ImagingTips.com Site Map
[an error occurred while processing this directive]