

by Wren McMains
|
Sponsored Advertisements:
Sponsored Advertisements: Sponsored Advertisements: |
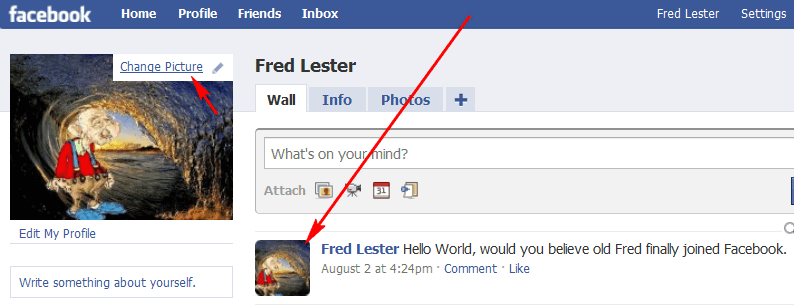
The solution to this problem (and another problem I've seen, people lying on their side because the profile picture is rotated) is to hover over the profile picture (above) and when "Change Picture" appears, click on it. That will give you these choices:
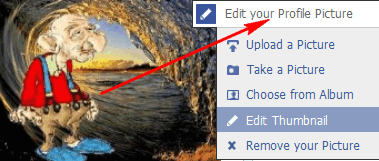
Choose "Edit your Profile Picture". That should bring you to a screen that looks like this:
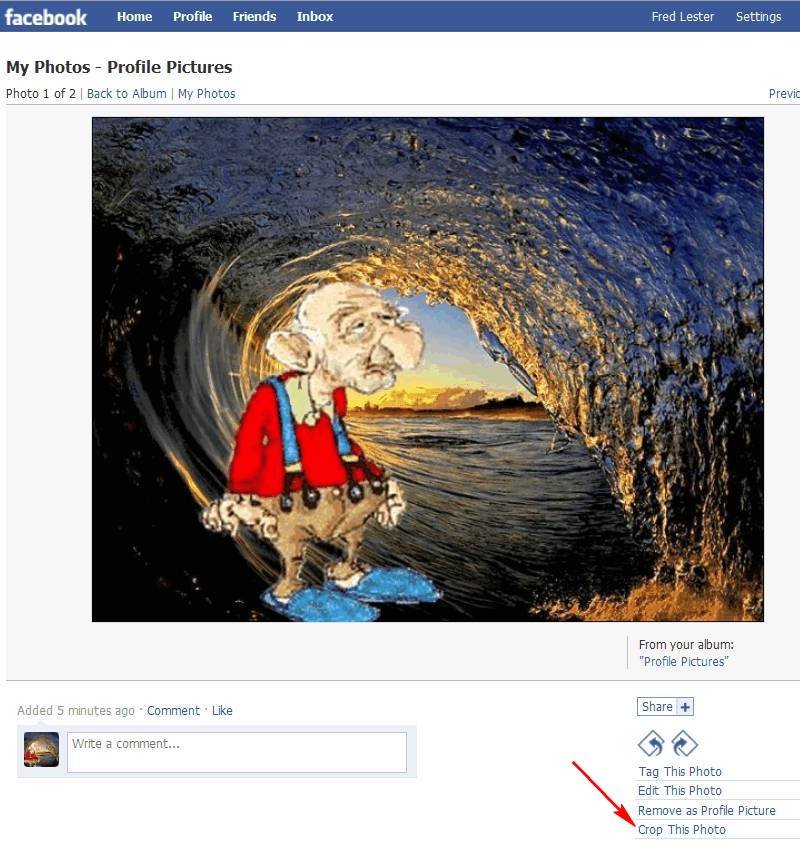
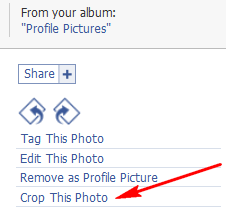
To crop your picture (so there's more of you and less of the background) choose "Crop This Photo" (this is an option that only seems to appear under a picture that has been set to be your profile picture).
If you need to rotate the image, do that first using one of these to icons:

Choosing "Crop This Photo" gives you a crop box; grab and drag various corners to adjust the size of the box. You can also reposition the box by dragging the box itself.
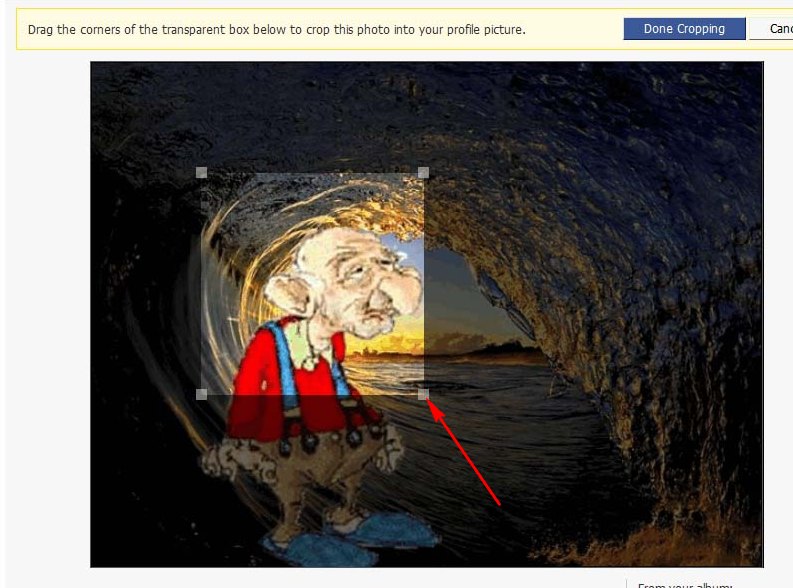
Once you're happy with the crop, click on "Done Cropping":
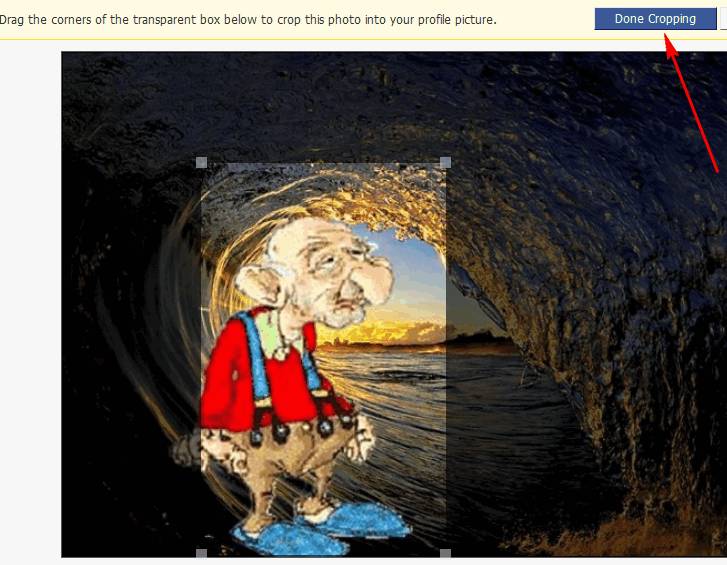
Notice how the cropped portion became the profile picture and a square choosen by Facebook became the small square version:
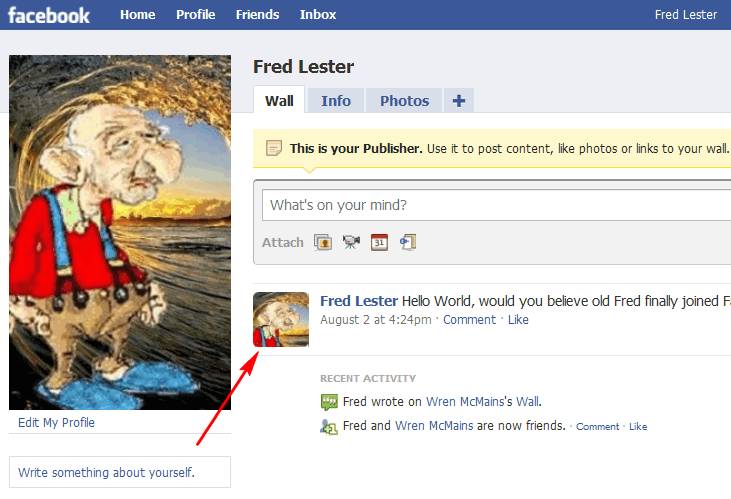
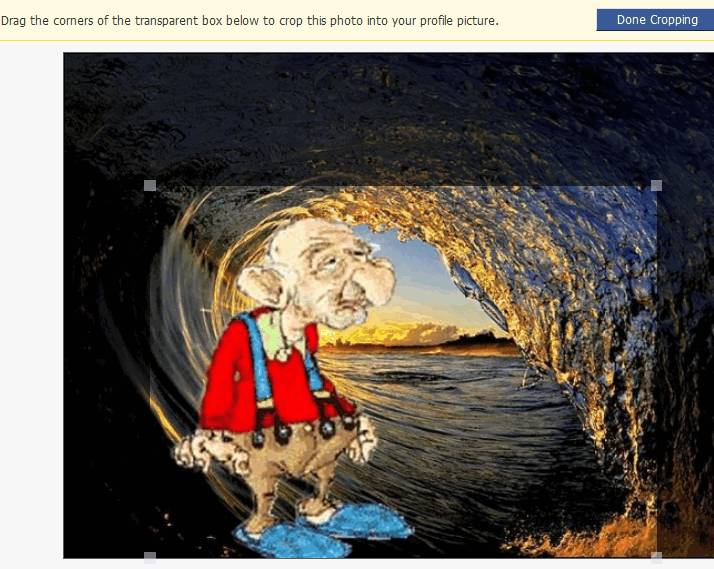
You can either crop so the image is square, landscape, or portait in shape, but my advice if you're not making it square is to make either the width of the height equal the width of height of your head. Here's an example of what happens if you don't:
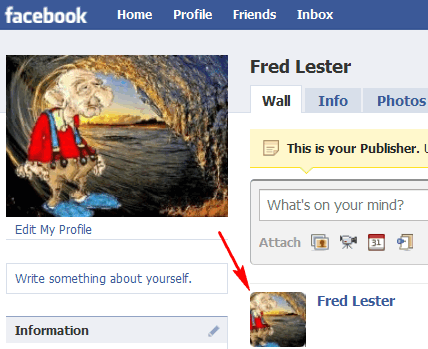
In the little square version, Fred's still too small:
Two last tips:
If you've read this far, you can skip what follows.
If you're comfortable using FastStone or some other program to crop images, I recommend you crop it so it shows only your face. Originally I recommended making it roughly square, or portrait shaped with your face in the top square (see samples at the bottom of this page), but you can use "Edit Thumbnail" to select the part of your portrait to use as the small square version that appears next to your Facebook posts.
| Reasons: Your picture will be reduced to about one-half inch square and show up next to all your comments ... at that size no one will have a clue who you are if your profile picture is a full-length picture of you with lots of background. Facebook is going to crop it square, for use as a thumbnail next to your posts. If can either crop it square now, or you can adjust thumbnail Facebook creates later. Avoid thumbnails like I've seen that start above someone's mouth and have lots of sky at the top ... if your bald head is not your best feature this is probably not the thumbnail you want to show the world. |
Use the Crop Tool in FastStone to crop your image. If you haven't used it before, the short video tutorial (the "View Videos" link at the top of that page) will show you how.
When you crop the image, DO NOT resize it. If you do the image in the upper left corner of your Wall will be too small instead of matching the width of the column like it should (see sample below).
If you didn't crop your image so it shows only your face before uploading, find your Profile Picture in your Photo Albums. Only under your Profile Picture have I seen the "Crop This Photo" option:
You can drag the crop box around to crop just your face out of a picture. By dragging the corners of the box, you can resize it:
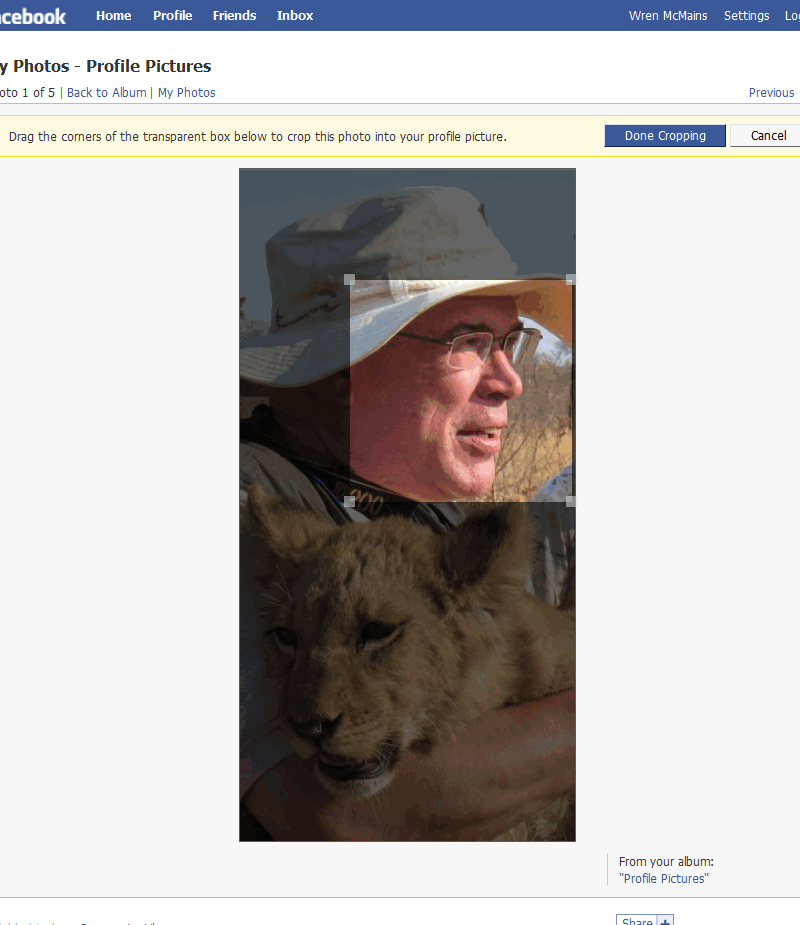
You don't have to make the crop square ... this is the version that will go at the top of the left hand column on your profile page. You can later adjust the cropping of the square thumbnail version, see "Edit Thumbnail" below.
In this case the image uploaded was portrait shaped, but notice how Facebook uses only the top portion of the image for the square version of the portrait it puts next to June's posts:
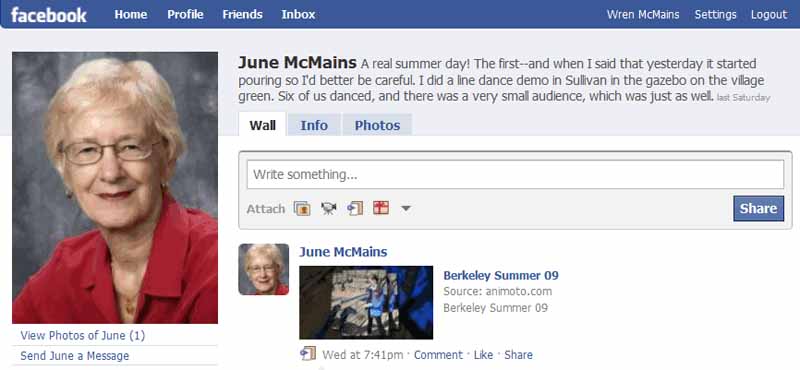
The original image was quite big. Facebook resizes any image you upload to something like 600x400, and when it displays your Portrait in the upper left corner of your Wall Facebook downsizes it again to fit in the first column.
Here's a example of using uploading an image that's too small:
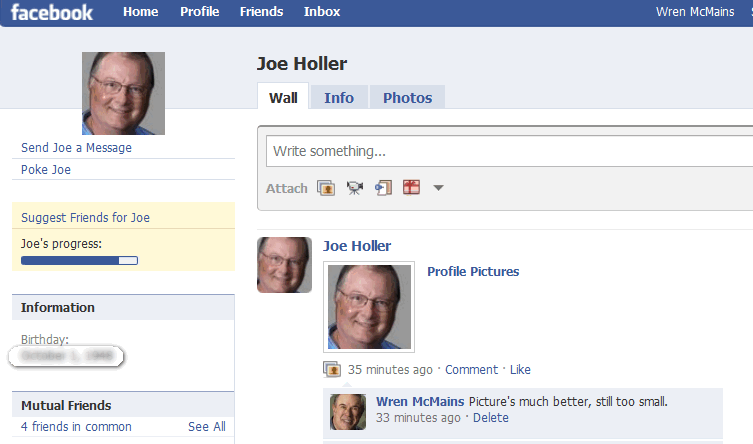
The thumbnail (small, square version) next to Joe's posts is fine, but the one at the top of the left column looks like a postage stamp.
Except for how to "Edit the Thumbnail", you can skip the rest of this. These samples were experiments to see how Facebook created the square thumbnail from images of different aspect ratio before I discovered the option to "Edit Thumbnail".
Here's one that was 1660x830 (a 2 by 1 aspect ratio):
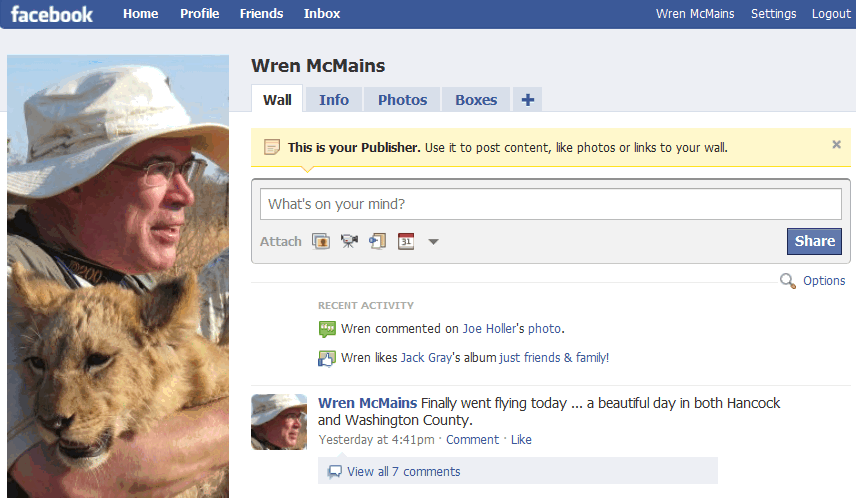
The image after it was uploaded was only 604x302 and Facebook took basically the top half as the thumbnail. This next image was 400x260 (roughly 3x2):
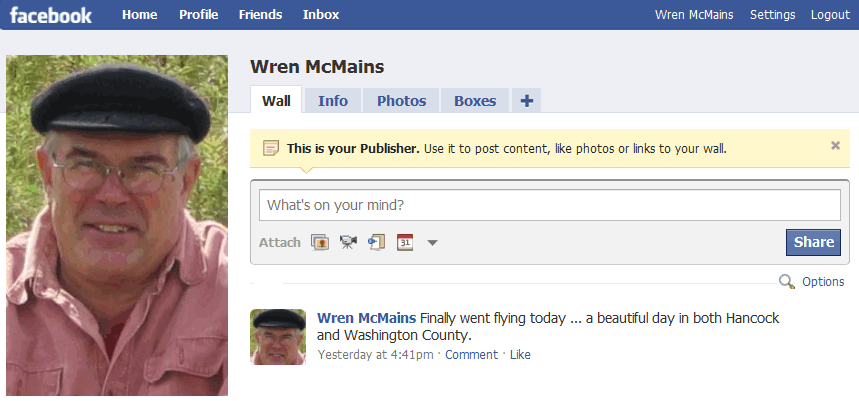
It seems that for any portrait (vertical) image it takes a square from very near the top to make the thumbnail. This one was 410x290:
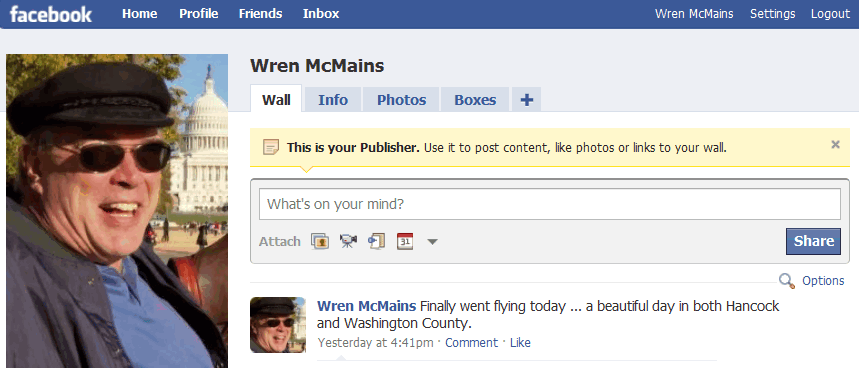
Next I decided to see what would happen if I cropped the same image in a landscape format:
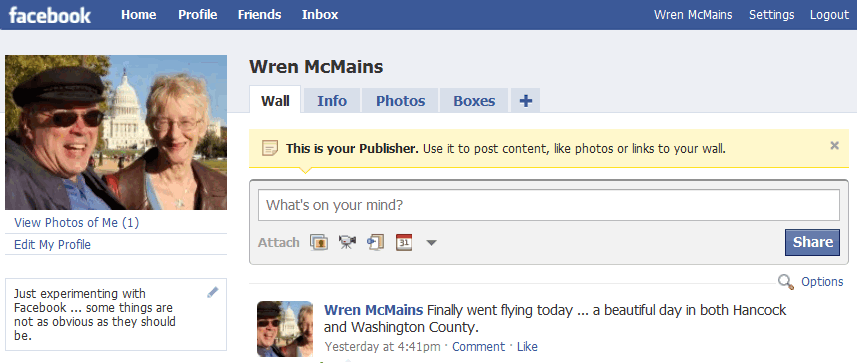
It seems that with a landscape image it takes a square out of the middle for the thumbnail. Then I noticed that when you move your cursor over the profile picture, there is an "Edit Thumbnail" option:
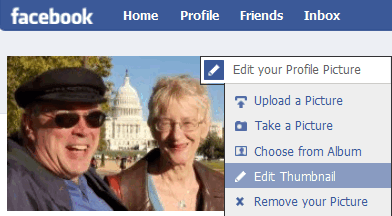
After choosing it, you can move the square Facebook chooses exactly where you want it:
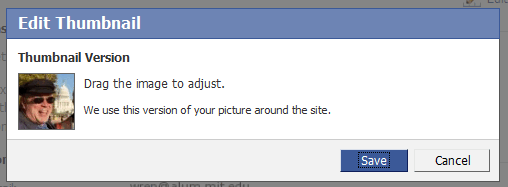
And now even though the profile picture has two people it in, the thumbnail looks like:

Once you've uploaded several profile pictures, you can easily change your Facebook persona by using the "Choose from Album" choice:
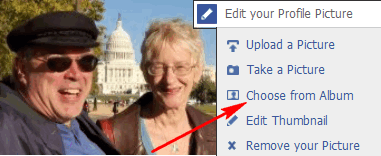
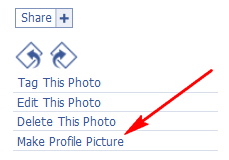
And picking a different image from your Profile Pictures album. Once you selected the one you want use the "Make Profile Picture" choice on the bottom right:
Suggested next choices: