

by Wren McMains
|
Sponsored Advertisements:
|
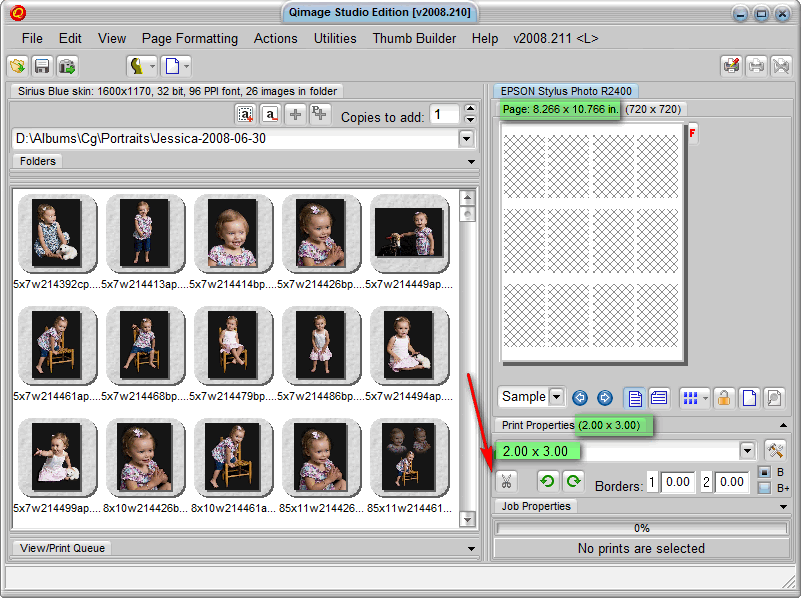
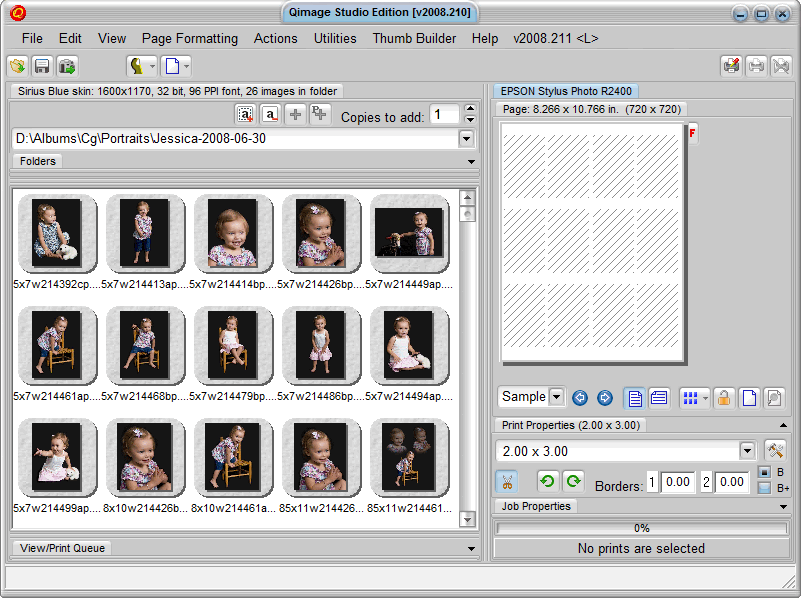
Next we'll turn on auto-cropping (red arrow above). Notice the differences in these two screen shots: below the auto-crop icon looks depressed (and its colors have changed); in addition the "holes" for the images above are cross-hatched, whereas, with auto-cropping on they are not.
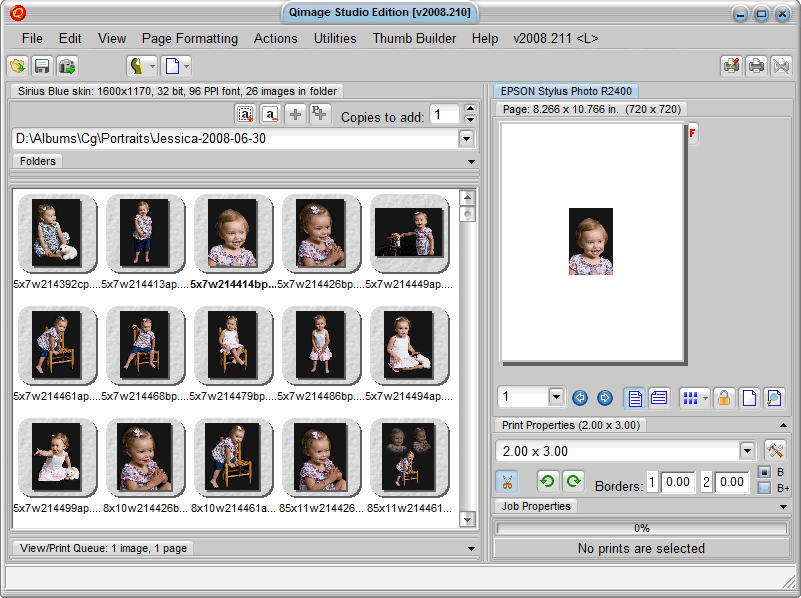
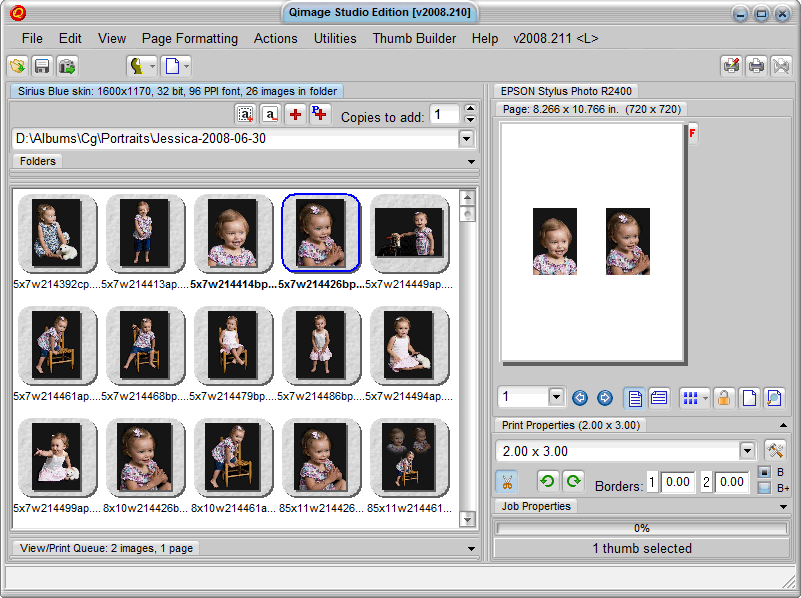
As I add images to the page (I usually drag and drop, or double-click), they keep centering on the page because I have chosen "centered" as my print placement.
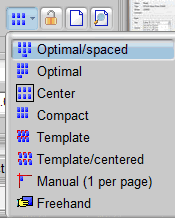
Below you see the print placement icon and the choices you have when you click on it. Notice the square around the icon associated with "Center", indicating this is the current placement:
As I add more images to the page, they move around in keeping with the current placement choice:
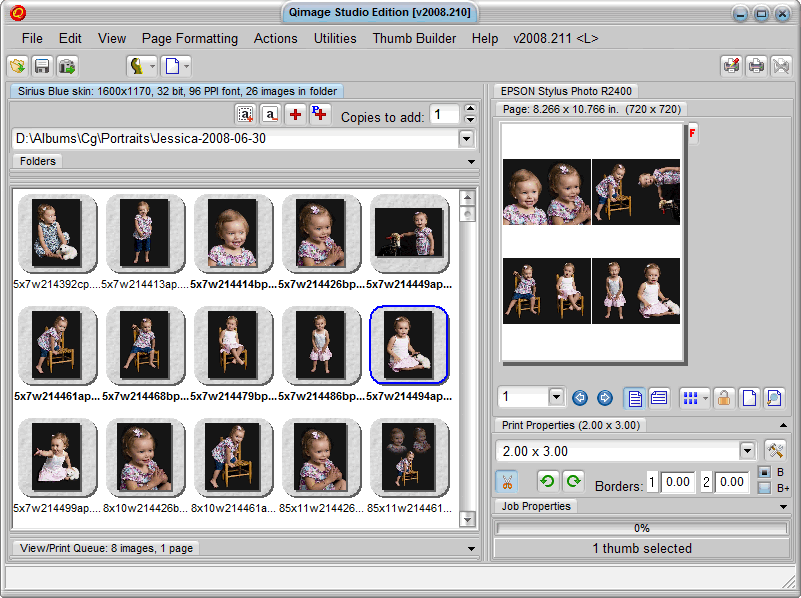
There's nothing that says you can't mix sizes. Here I changed the print size to 3x4 and added a couple more images:
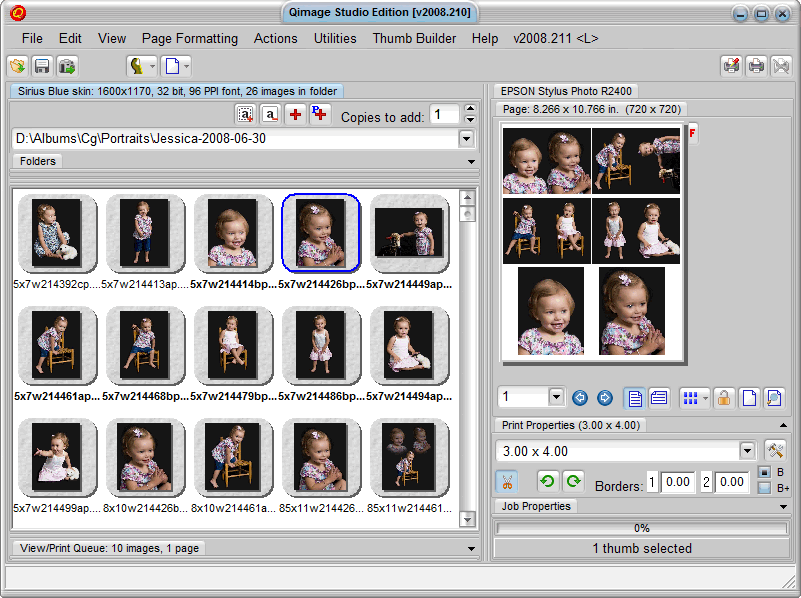
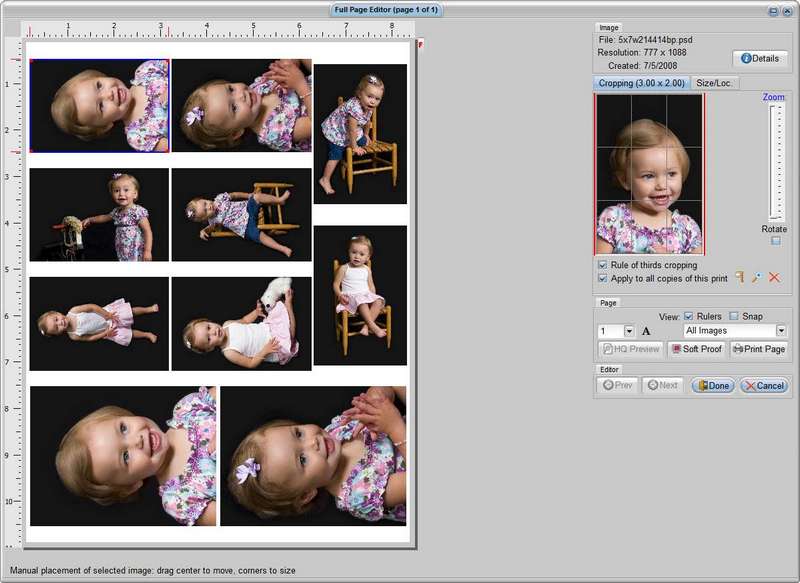
Since the images I was placing had all been cropped to a 5x7 aspect ratio, Qimage is auto-cropping them to fit in these 2x3 and 4x5 "holes". To adjust the cropping, click on the full page editor icon (arrow above) and you'll see:
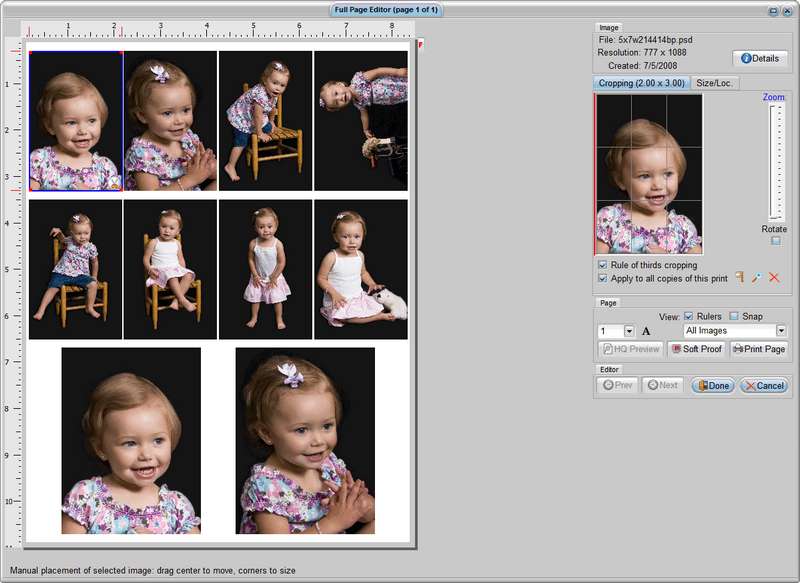
Click on the image (left sid) you want to adjust (it will then be surrounded by a blue box with red marks in two corners). Click and drag the image on the right to place it within the crop window. Use the slider to crop tighter.
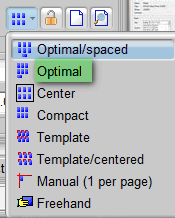
To minimize the number of paper cuts required, choose optimal placement:
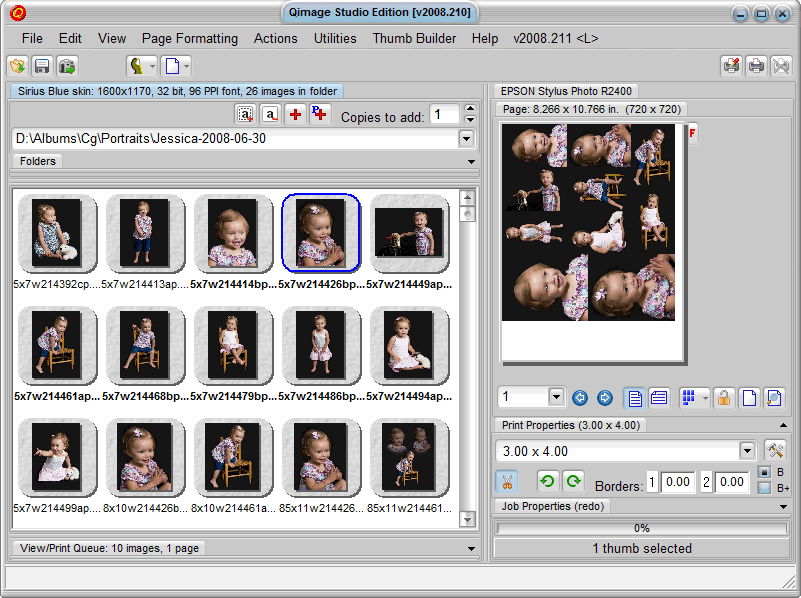
Don't be surprised if you then go back to centered, it just spreads out the optimal placement. It doesn't go back to the original centered placement:
Suggested next choices:
ImagingTips.com Site Map
[an error occurred while processing this directive]