|
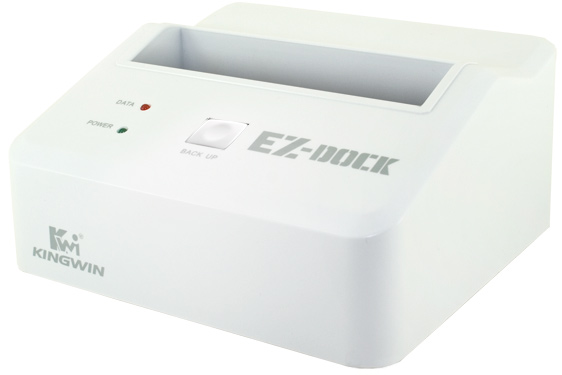
As you know I recommend keeping at least two backups of your images (or more if you are using optical media like CD or DVD). One backup should be on a hard drive which is not in the same machine ... either a networked drive in another machine or an external drive which is turned off and disconnected. A third backup is even better, it should be kept in off-site storage ... this protects you against fire, hurricane or other disaster. Having external drives the size of your internal drives makes it easy to create one SyncToy "Folder Pair" to backup anything that's changed on an entire drive. The problem is that my external drives have never kept up in size with my internal drives. Although not as well protected or easy to use as an external drive, I've just found a neat solution that works for me. I call it a "Hard Drive Reader" ... it's just like a reader for your camera card, but instead of sticking in a media card, you stick in a hard drive. (And OEM hard drives, which come without mountings or cables, are the least expensive drives you can get, especially when you get them on sale.) Here's the reader I got, it's called an EZ Dock:
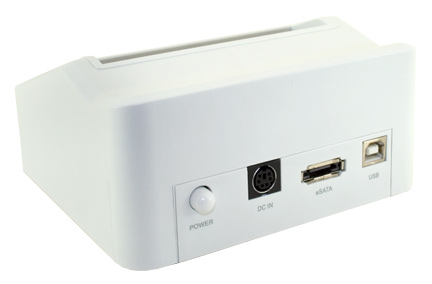
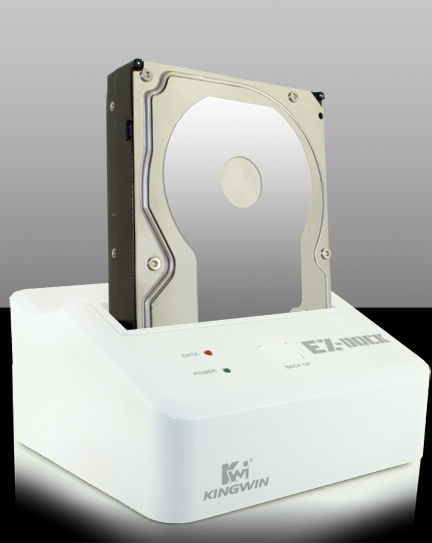
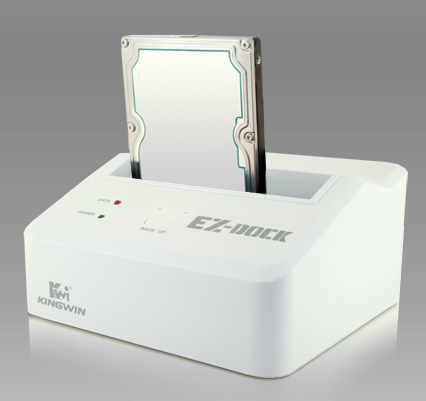
What's great is that it comes with both USB 2 and eSATA cables, which means if your mother board supports eSATA it's just as fast as an internal drive. And as you can see in these pictures, it can read both 3.5 and 2.5 inch hard drives:
The disadvantages (compared to a stardard external drive) are that the drive is not as well protected, and that OEM drives you buy aren't formatted, you have to do that yourself. But external drives come formatted with a FAT32 file system (which can be read by both MAC's and Windows), but you can put more data on a drive with a NTFS file system so I always reformat external drives anyway. 5/2012 Update: I found some nice plastic cases which protect the hard drives in storage. They're only $3.25 including shipping from China in quanities of 3 or more and come in different colors so you can color code your drives. Here's a link to them at DealExtreme.com. I've bought quite a few things them, but don't expect quick delivery. With luck you'll get your order in 3-4 weeks, but I've had some things (which must have been out of stock) take 3 months or more. 6/7/2012 Update: My EZ Dock readers can't format a 3TB drive (it has no trouble with 2TB drives). There are newer readers like this which are USB3 and probably don't have this limitation. For some reason Windows thinks the 3TB drive is only about 750GB. The solution is to put the new drive in the machine to format it, once it's formatted Windows has no trouble using it in the EZ Dock reader. Here are the steps to format the drive: Open "Computer Management", with Vista or Windows 7 just type "man" in the search box just above the start button and it should be listed near the top, with XP you can probably find it under System Tools, or under Admin Tools in the Control Panel. Then click on "Disk Management" |
Sponsored Links:
Sponsored Links: |
Scroll down until you find the new disk. It will say things like "Not Initialized" and "Unallocated":
In Vista you have to right-click on the "Disk #", which will give you these choices:
Choose "Initialize Disk". (In Windows 7 the Initialize Disk dialog box opens automatically.)
Unless your disk is over 2TB, I recommend choosing the MBR option.
Next right-click on the cross hatched area where the work "Unallocated" appears and choose "New Simple Volume" (WARNING: Since this process will format the hard drive make sure you've pick the right disk):
That starts this Wizard, just click Next:

By default, all the space on the disk is assigned to the new volume. That's what you probably want, so just click Next:

You probably also want to assign it a drive letter. You can choose any unused letter with the pull-down. Then click Next:
I recommend choosing a NTFS file system. This file system allows you to store more on the same size drive than the FAT file system that it used on pre-formatted external drives. (In fact, I've always reformatted my external drives with NTFS file systems as soon as I get them.) Type in a label for the drive (I usually use the name of the Machine followed by a hyphen and the drive letter I'm going to assign it). In this case even though I mounted it as G (the next available letter) it was going to end up being the D drive after I copied everything from the D drive to it and then removed the old D drive.
Another choice is "Quick Format" which is checked by default. I perfer to do a full format which will check out the entire disk, but beware, this takes a long time ... over 5 hours for this 2TB hard drive. Click Next:
Finally it will show you a summary of all the options you've chosen. Click Finish to start formatting the disk:
This returns you to "Disk Management" and you'll see the status now says "Formatting".
And as time goes on it will start showing your the percentage completed:
Two VERY IMPORTANT tips:

Once you've formatted your drive you can start setting up Folder Pairs in SyncToy to backup to you new drive.
Suggested next choices:
ImagingTips.com Site Map
[an error occurred while processing this directive]